React Native New Application Project
Hello friends, we're starting software lessons with React Native :)
Let's start by creating a new application. When we open the terminal and type the code below, we create a new React Native application named "denemeproje".
Running Your React Native Application
We can run our application on the iOS or Android simulator. Alternatively, we can open and run both simultaneously. Primarily, we'll run our application on the iOS simulator.
1. Running the iOS Application
There are two ways to run the iOS application we've created.
1.a) Running the React Native iOS Application in Terminal
First, navigate to the "denemeproje" folder we created. To open it in the iOS simulator or Android simulator, enter the codes below.
1.b) Running the React Native iOS Application Using XCode
First, open XCode. Click on the open project button and select "denemeproje.xcodeproj" as seen in the image below.

Next, build the project in XCode. Run the project by clicking the "run" button (play button) as shown in the image below.
To run the project, we need to connect to the node server (node terminal).

In the next step, React Native will automatically connect to the node server and open another terminal. If the terminal screen in the image below opens, it means our application is running.

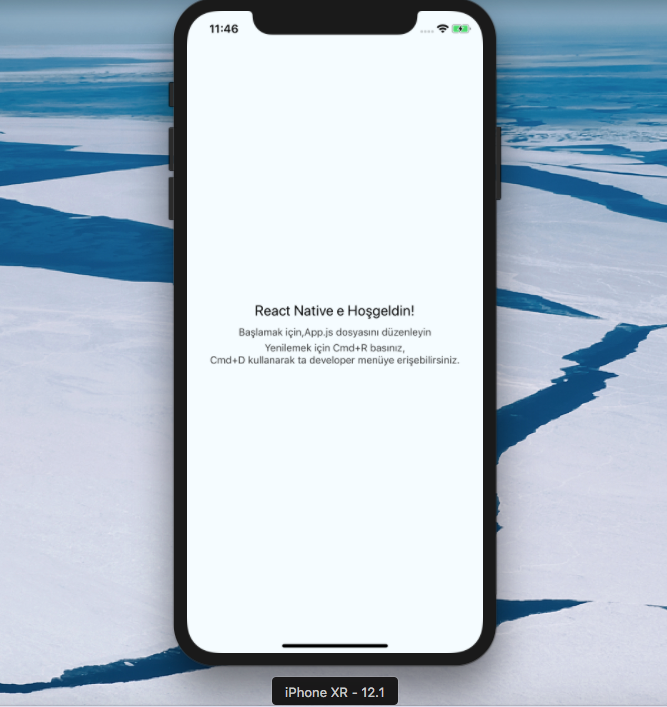
And the result, our iOS Simulator is opened, and we can immediately see the changes we made in App.js by pressing Cmd+R keys.

2. Running the Android Application
To view our application in the Android simulator, we similarly open the folder where our project is located using the terminal.
Next, we run the code in the terminal command line.
The most important thing here is that you have an Android simulator installed on your computer, like GenyMotion.
Another option is to connect an Android operating system device (Phone, Tablet) to your MacBook computer.
Otherwise, your project won't work.